For vendors: apply for a vendor account, find the vendor menu in My Account and fill in the personal and public profile.
Applying and approval
- New to the store: open Register Vendor in the My Account menu of the header and fill in the form. It creates your customer account and your vendor application.
- Already a customer: log in, open My Account and click Register vendor account in the My Vendor Account block.
Usually the store reviews applications. Until then My Vendor Account shows "Waiting for Approval", and you get an email when the application is approved or declined. If your account is disabled later, you see "Vendor account is inactive". See Vendor Registration and Approval for the store owner's side.
The vendor menu
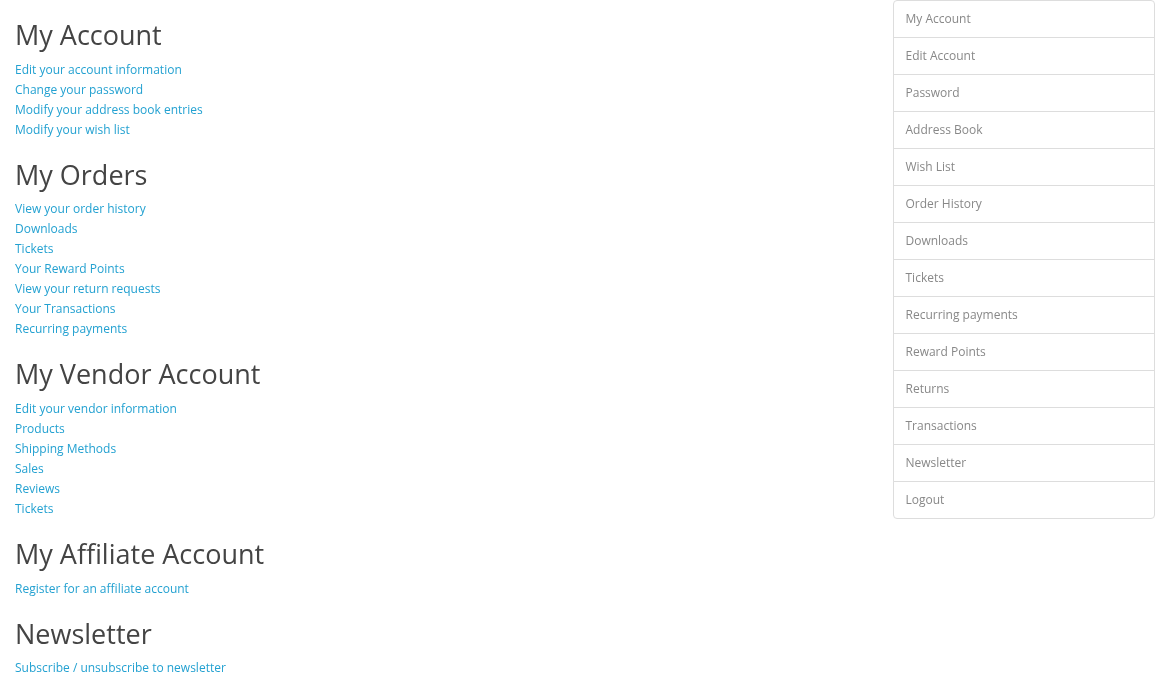
After approval, My Account has the My Vendor Account block:
| Item | What it opens |
|---|---|
| Edit your vendor information | Your vendor profile. |
| Products | Your products. See Managing Products. |
| Shipping Methods | Your shipping methods, if the store lets vendors set their own rates. Otherwise it is not a link: "Shipping methods and their cost calculation are defined globally by administrator". See Shipping Methods. |
| Sales | Your orders. See Orders (Sales). |
| Reviews | Reviews of your vendor profile, if the store allows reviews. See Reviews and Replies. |
| Tickets | Customer tickets assigned to you, if the store uses Customer Messages. See Customer Messages Integration. |
Other modules may add their own items here.
Your account data (name, email, password, addresses) and Your Transactions (your earnings and payouts) are in the usual parts of My Account.
Public profile
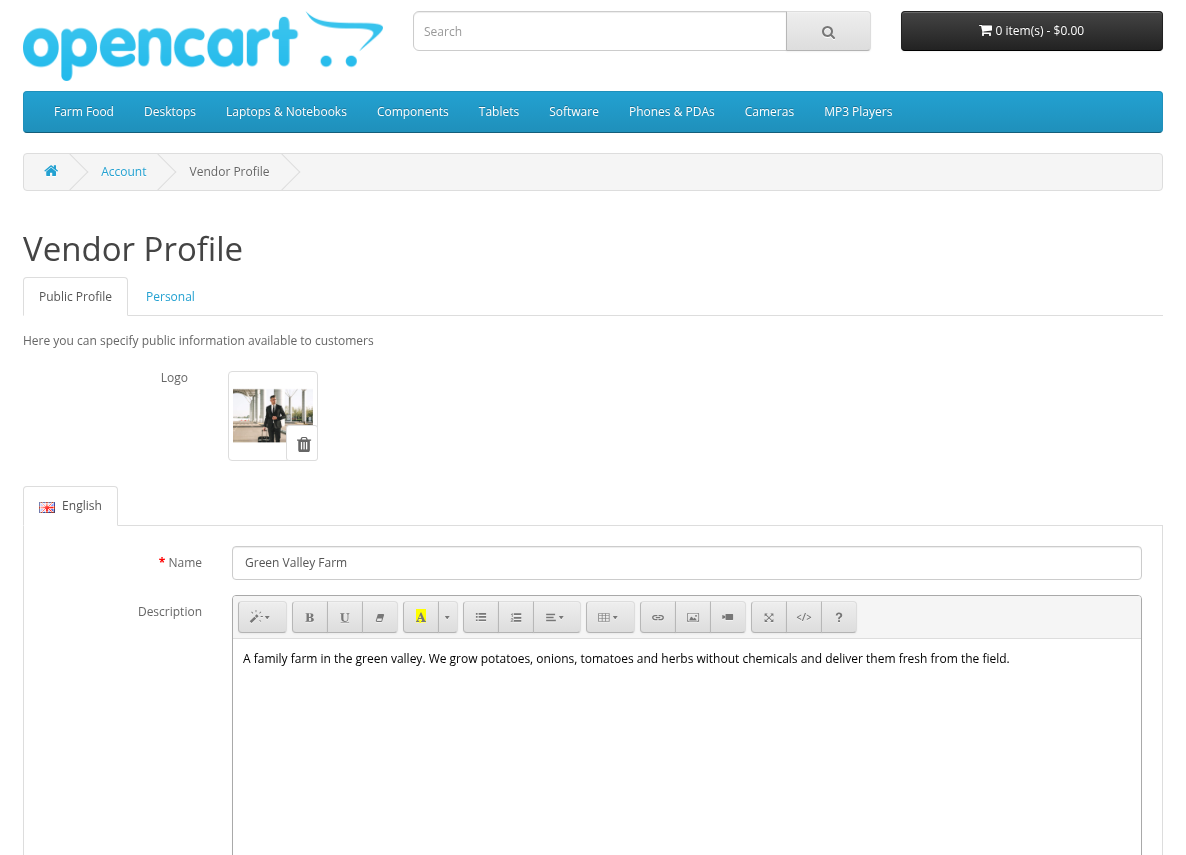
Edit your vendor information opens the page "Vendor Profile". The first tab, Public Profile, is the information buyers see on your vendor page:
- Logo;
- Name (required) and Description for each store language. The description has a visual editor; images for it are uploaded with the file manager.
Fill in the public profile first: without a name your vendor page and your name are not shown in vendor lists.
Personal info and API key
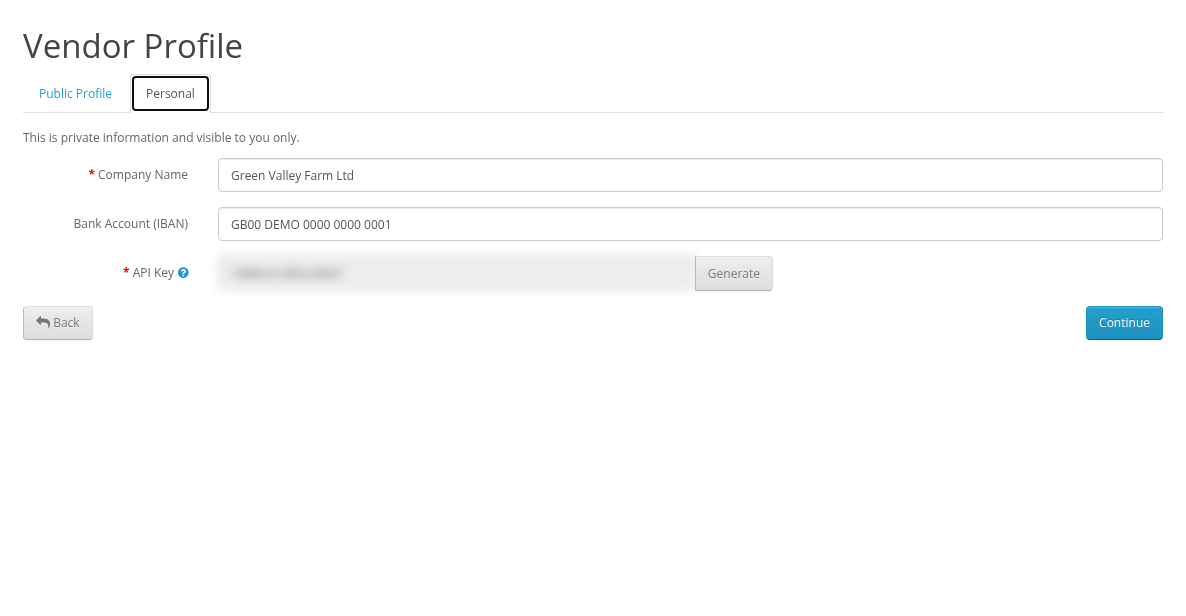
The Personal tab: "This is private information and visible to you only." It has:
- the vendor fields of the store (for example, company or bank details), if the store has them;
- API Key: "The API key is required to manage your product data via API calls." Click Generate to create a key or replace the old one. The old key stops working at once. See Product API.
Click Continue to save the profile. Generate asks "Are you sure?" and saves the new key at once, without Continue.