Click the subject of a ticket in Customers > Tickets to open it. The page shows the buttons for the whole ticket at the top, the ticket properties, the messages from the oldest to the newest and the form for a new message at the bottom.
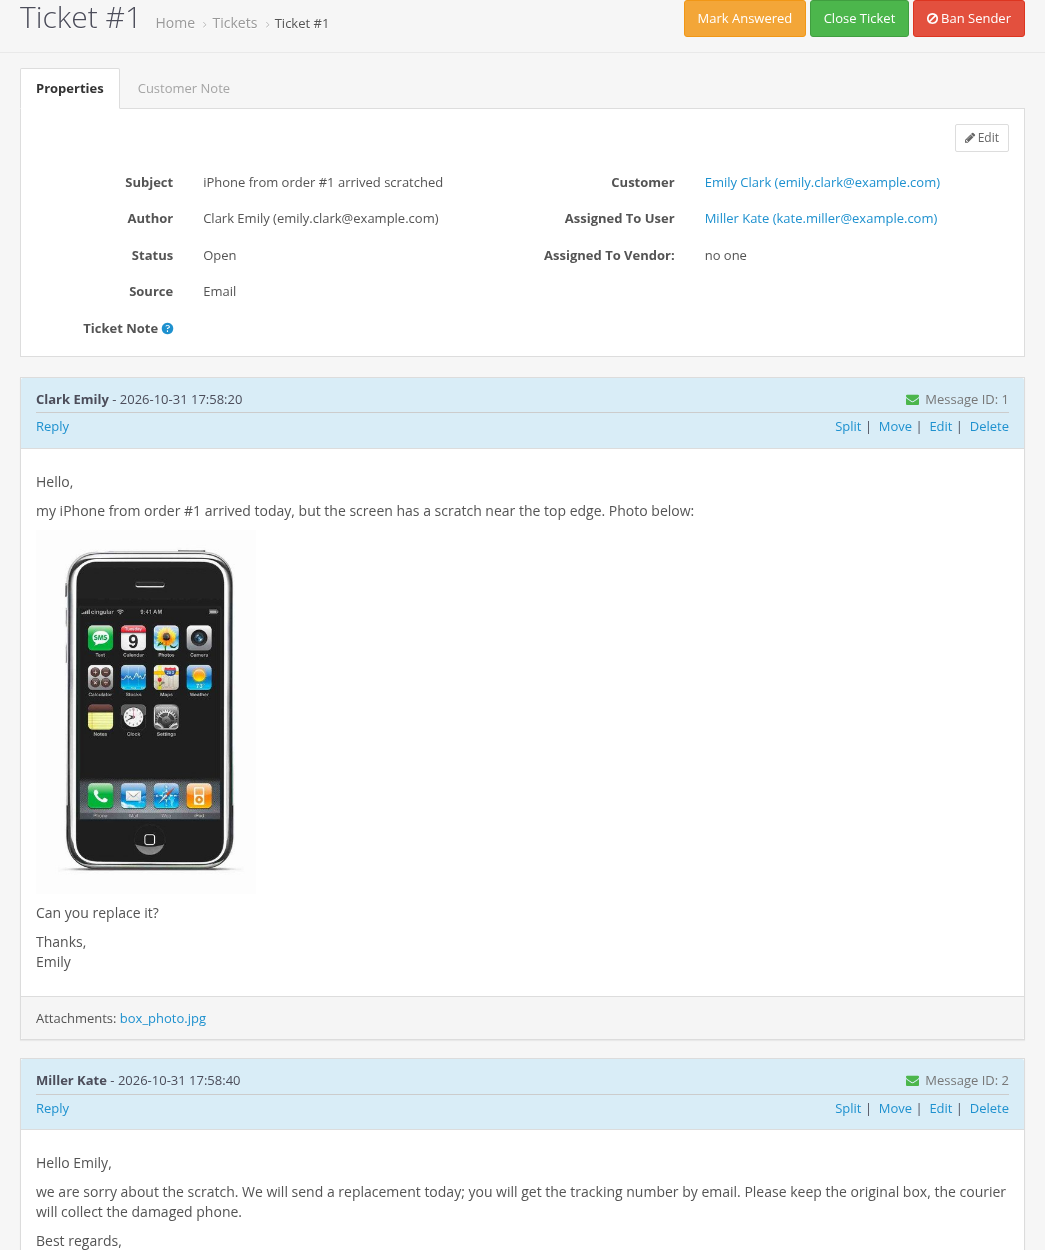
Buttons of the ticket
| Button | What it does |
|---|---|
| Mark Answered / Mark Unanswered | Sets or clears the Answered flag of the ticket. Use it when a ticket needs no answer, or to keep it in your "waiting" list. |
| Close Ticket | Adds the message "The ticket was closed by the administrator." (no email for this message), closes the ticket, marks it answered and sends the customers the email "Ticket #N has been closed". Shown only for open tickets. A new message from anybody opens the ticket again. |
| Verified | Shown only for tickets with an unverified email (for example from the contact form). Confirms the email: the ticket appears in the customer account. See Email Verification, Contact Form and Ticket Sources. |
| Ban Sender | Bans the email of the ticket author and can delete this ticket and his other open tickets. See Banned Emails. |
Properties
The Properties tab shows:
| Field | Description |
|---|---|
| Subject | The subject of the ticket. |
| Author | Who created the ticket. |
| Status | Open or Closed. |
| Source | Email, Form, Admin, Customer account or Vendor. |
| Ticket Note | A private note about this ticket. Customers never see it. |
| Customer | The customers of the ticket. All of them get the ticket emails. |
| Assigned To User | The administrator responsible for the ticket. Only this administrator gets emails about new customer messages. |
| Assigned To Vendor | Only with Messages For Multivendor, see Multivendor Integration. |
Click Edit to change the subject, the customers, the assigned administrator and the ticket note, then click Save.
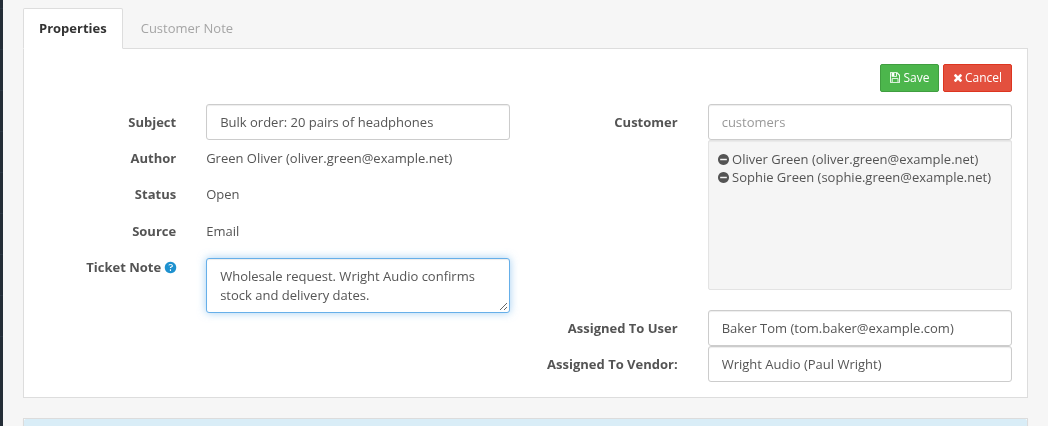
To add a customer to the conversation, for example a colleague of the customer, add him to Customer: he will get the next messages by email.
When you assign the ticket to another administrator, he gets the email "Ticket #N Was Assigned to You" with the customers, the subject and the last message, and then the emails about the next customer messages. Nothing is sent when you assign the ticket to yourself or save the properties without changing the administrator.
Customer Note
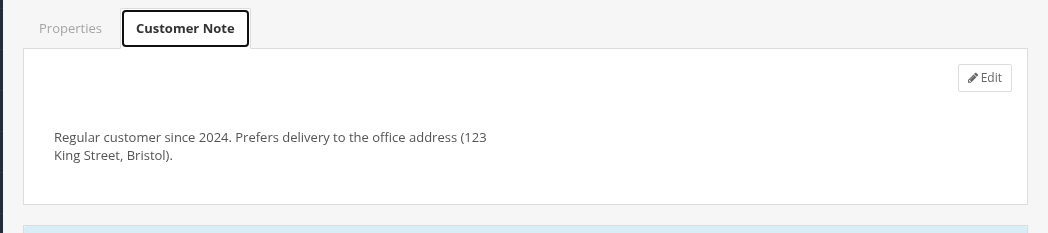
The Customer Note tab keeps a private note about the customer (the first customer of the ticket), for example "VIP, prefers phone calls". The note is stored in the customer account, so you see it on all tickets of this customer. Customers never see it.
Messages
Every message shows the author, the date, the Message ID, the text with images and the attached files. Links under the message:
| Link | What it does |
|---|---|
| Reply | Quotes the message in the form at the bottom of the page. |
| Resend | Shown when some recipients did not get the email of this message. Sends it to them again. |
| Split, Move, Edit, Delete | See Editing, Moving, Splitting and Deleting Messages. |
Long tickets are split into pages. The ticket opens on the last page with the newest messages.
Email status of a message
The envelope icon next to the Message ID shows whether the email of the message reached the recipients. Point at the icon to see every recipient, the status, the number of attempts and the error text.
| Icon | Meaning |
|---|---|
| Green | Sent to all recipients. |
| Yellow | Pending: the email is being sent. If the sending was interrupted, the cron sends it again later. |
| Red | Not sent to some recipients. The cron retries failed emails automatically up to 5 times with growing pauses. |
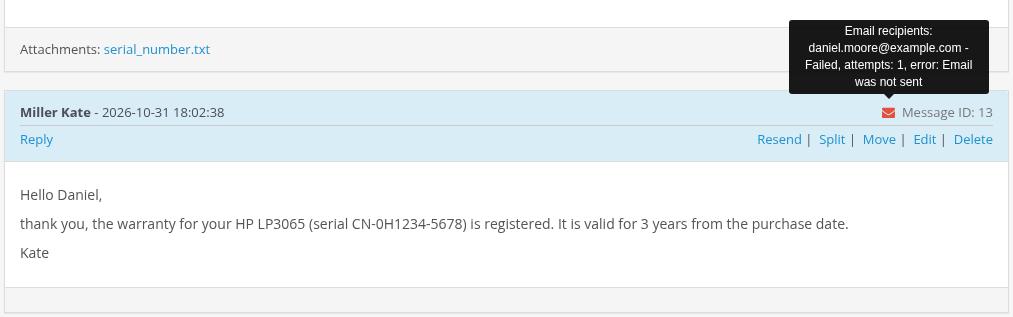
Use Resend after you have fixed the cause, for example the mail settings of the store. The error texts are explained on Troubleshooting and FAQ.
Writing a reply
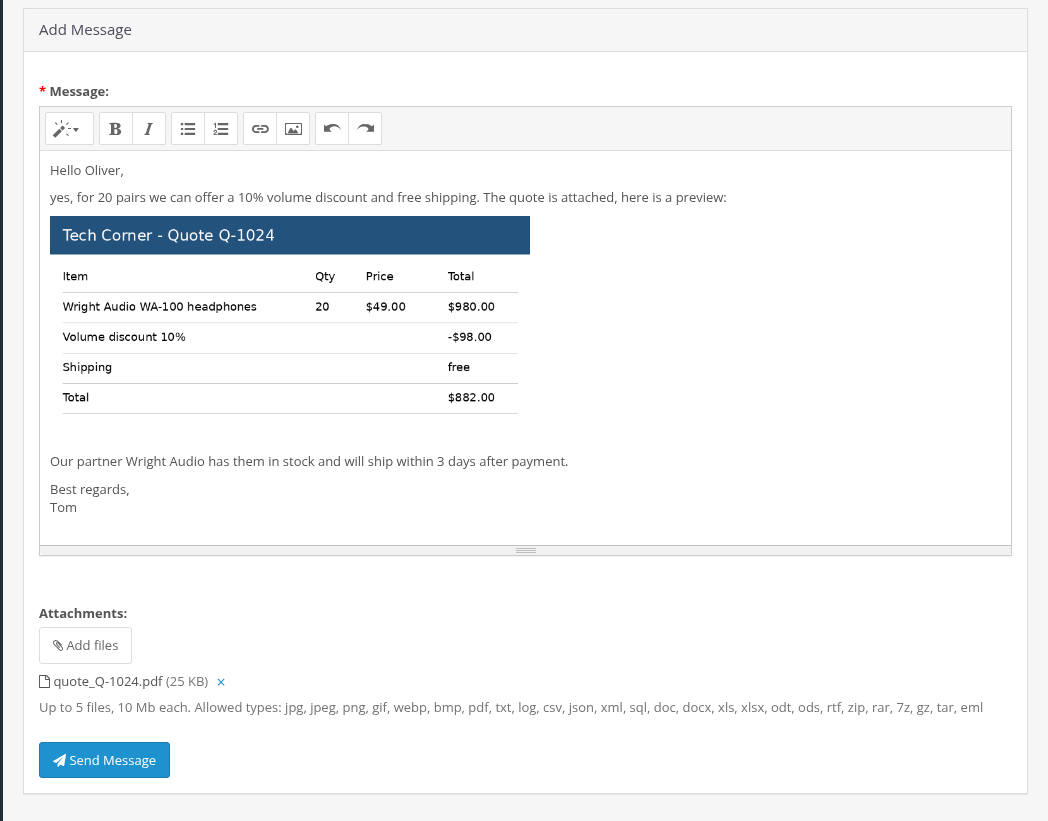
Write the answer in the Add Message form at the bottom of the page and click Send Message. The message is added to the ticket, the ticket is marked answered, and all customers of the ticket get it by email. Other administrators do not get emails about your replies.
The editor has paragraph styles (headings, quote, code), bold and italic text, lists, links, images and undo. To add an image, paste it from the clipboard, drag it into the text or use the picture button of the editor. To attach files, click Add files. The limits are shown under the form (see Attachments and Inline Images).
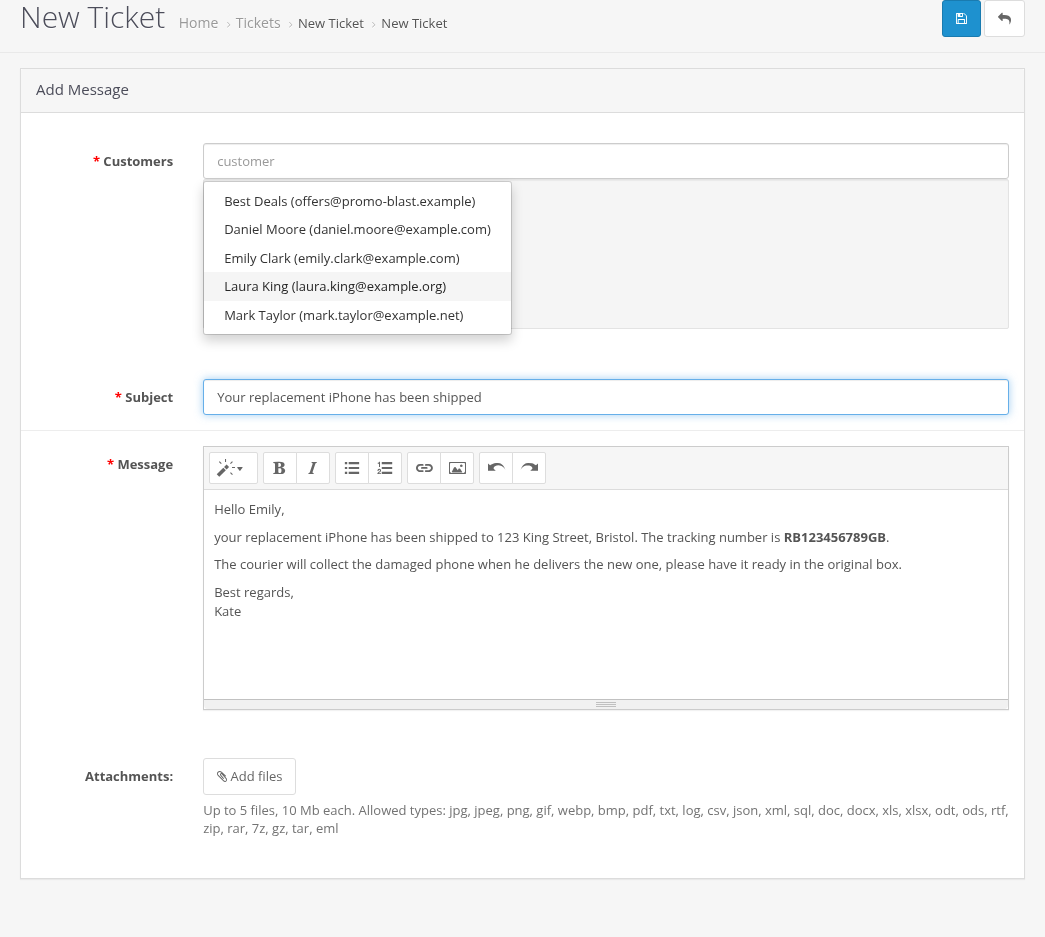
New ticket from the administrator
To write to a customer first, click Add New in the ticket list. Choose one or more Customers (start typing the name or email), enter the Subject and the Message, attach files if needed and click Save at the top of the page. The customers get the email about the new ticket and can reply to it. The source of such a ticket is Admin.