
The group is built in Catalog > Products. The module adds a toolbar above the product list, the Group Products filter and, while the group is not empty, the Group Actions panel under the filter.
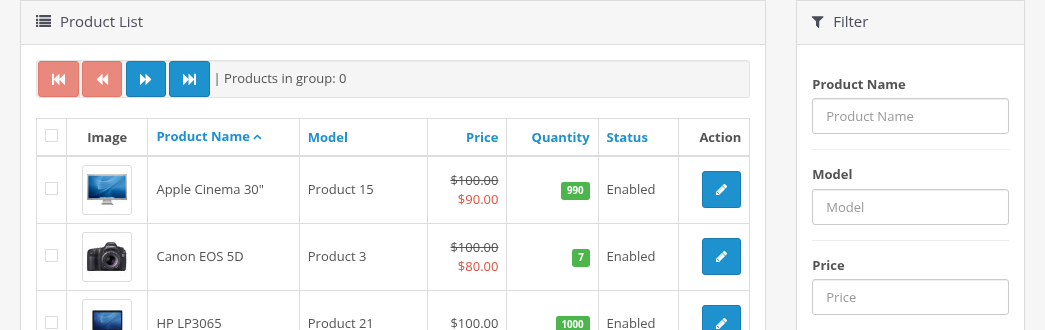
The group toolbar
| Button | Tooltip | What it does |
|---|---|---|
| Red, double arrow left | Remove all products from group | Clears the group. |
| Red, arrow left | Remove selected products from group | Removes the products checked in the list from the group. |
| Blue, arrow right | Add selected products to group | Adds the products checked in the list to the group. |
| Blue, double arrow right | Add all products to group | Adds all products found by the current filter, on all pages of the list. |
The text Products in group: N shows the size of the group. When the group is not empty, the number is a link that shows only the group products. The red buttons are disabled while the group is empty.
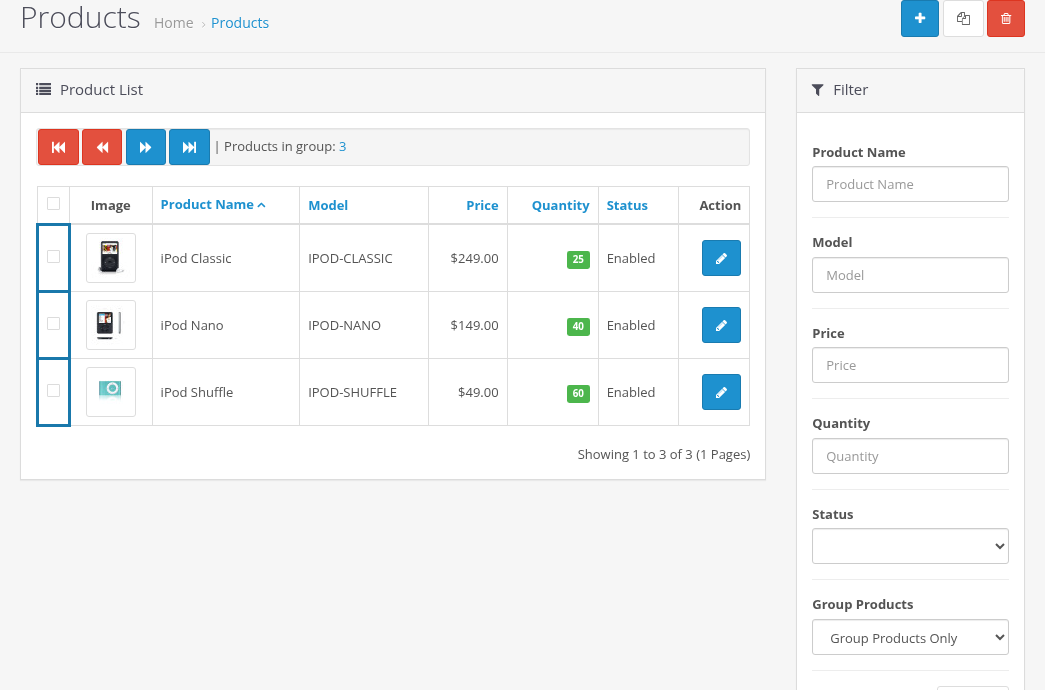
The checkbox cell of every product in the group has a blue frame, so you see the group right in the list.
Adding selected products
- Check the products in the list (the checkboxes in the first column).
- Click Add selected products to group.
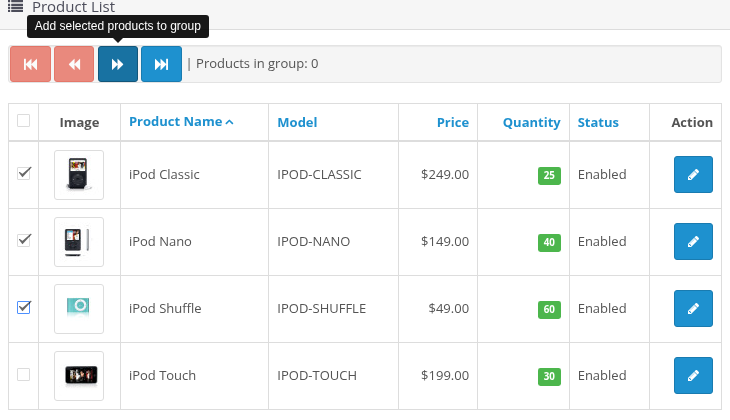
The page reloads with the message You have added products to the group, and the products get the blue frame. The filter, the sort order and the page of the list are kept, so you can go to the next page or change the filter and add more products. Products that are already in the group are not added twice.
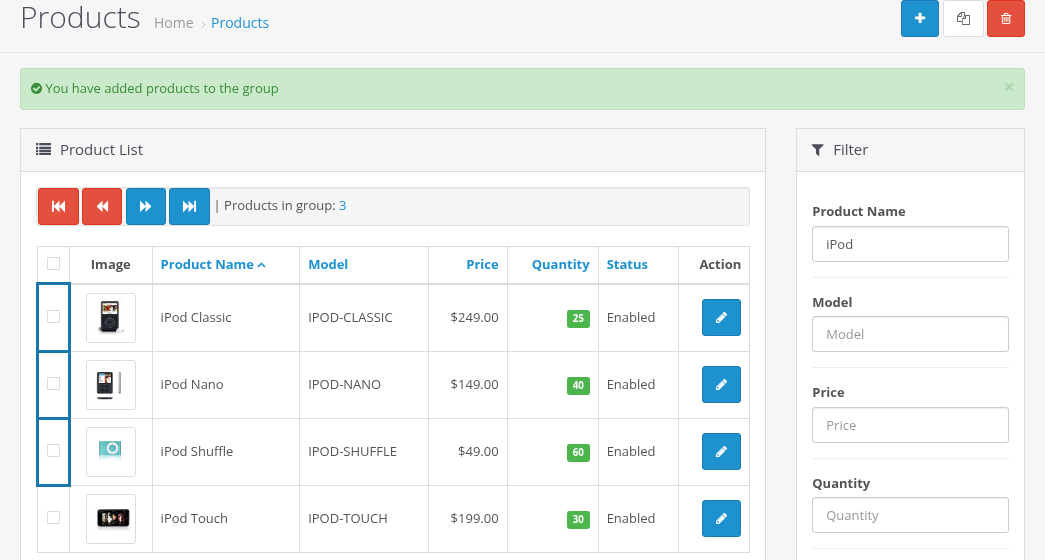
Adding all products by the filter
Add all products to group takes the current filter of the list and adds all products that match it, not only the products of the current page. For example:
- No filter: all products of the store are added. In the demo store the list has 19 products on two pages, and one click adds all 19.
- Product Name
iPod: all products whose name starts with "iPod". - Status Disabled: all disabled products.
- Quantity
0: all products with quantity 0.
The button uses the filter of the list as it is shown at the moment. Apply the filter first (click Filter) and check the number of found products under the list (for example "Showing 1 to 10 of 19 (2 Pages)"), then click the button.
Showing the group
Choose Group Products Only in the Group Products filter and click Filter, or click the number after Products in group. The list then shows only the products of the group. You can combine it with other filters.
Removing products from the group
- Remove selected products from group: check the products and click the button. The message is You have removed products from the group.
- Remove all products from group: clears the group. The message is You have removed all products from the group.
A product that is deleted from the store is removed from the group automatically.
Removing a product from the group does not change the product.
How long the group is kept
- Every administrator has an own group. Groups of different administrators do not mix.
- The group belongs to the login session. After you log out and log in again, you start with an empty group.
- The group is kept after a group save. Clear it when you have finished, otherwise the next save of a product with checked fields changes the same group again.
- Products that were added to a group more than 24 hours ago are removed from it automatically (the cleanup runs when an administrator adds selected products to a group). Build the group again if you continue the work on the next day.
Group actions
When the group is not empty, the Group Actions panel appears under the filter. It changes all group products directly, without opening a product.
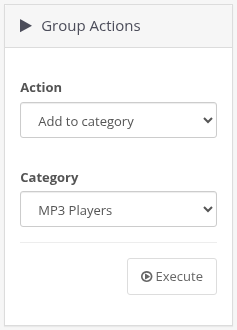
- Choose an action in Action:
- Add to category: the category is added to all group products. Their other categories stay.
- Remove from category: the category is removed from all group products. Their other categories stay.
- Choose the Category.
- Click Execute.
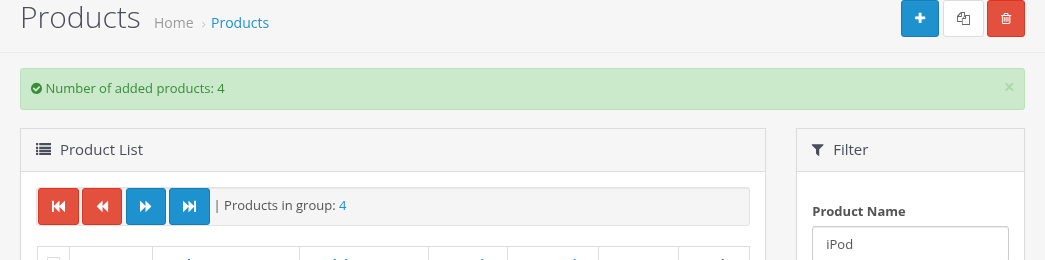
The message shows the number of processed products, for example Number of added products: 4. The number includes products that already were in this category (for adding) or were not in it (for removing).
Group actions need the Modify permission for catalog/product, like saving a product. Without it the list shows the permission warning and nothing is changed. If the store has 2000 categories or more, the category lists of the panel are empty.
To replace all categories of the group products at once, use the Categories checkbox in the product form instead (see Fields by Tab).