
Task Scheduler is installed like other Ka modules: upload the package, refresh modifications, register the license and click Install.
Install the package
- Log in to the store admin and open Extensions > Installer.
- Upload the Task Scheduler archive (
task_scheduler_ver3.0.4.0.ocmod.zip). - Upload the latest Ka Extensions library too. It is free and required by all our modules. If it is already installed, uploading the latest version is still recommended.
- Open Extensions > Modifications and click Refresh.
If the installer does not work on your server, see How to Install a Zipped OCMOD Extension Manually. If the menu or pages do not appear after the upload, see How to reset modification cache in Opencart 3.
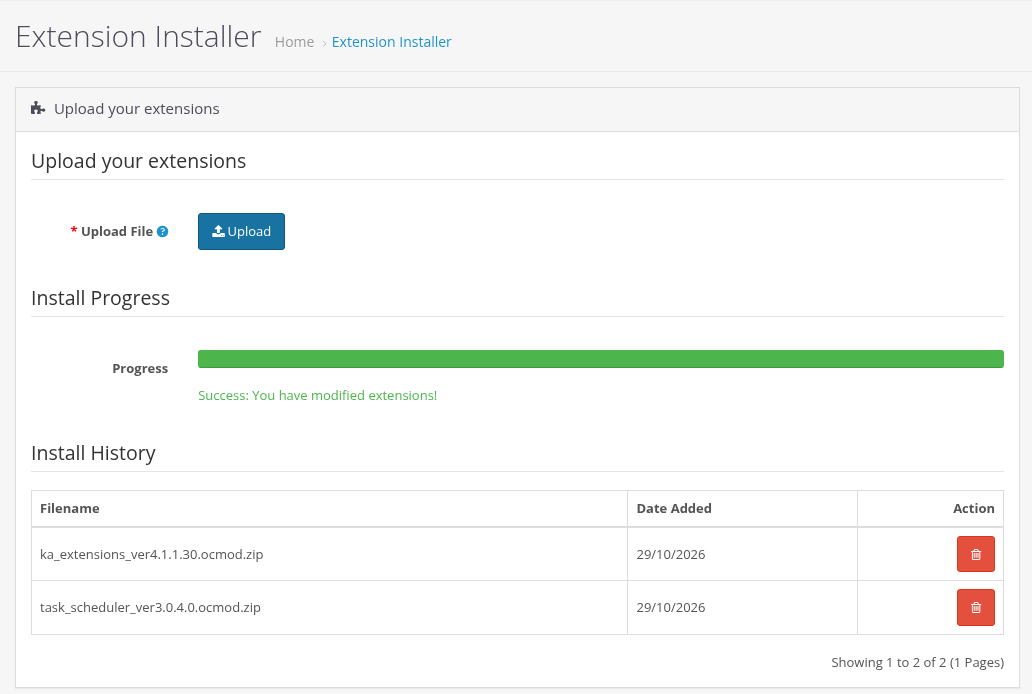
The Task Scheduler package is uploaded at Extensions > Installer
Register and install
- Open Extensions > Extensions and select Ka Extensions in the type list.
- Register the extension with the license key sent to your email. See How to obtain license key.
- Click Install next to Task Scheduler.
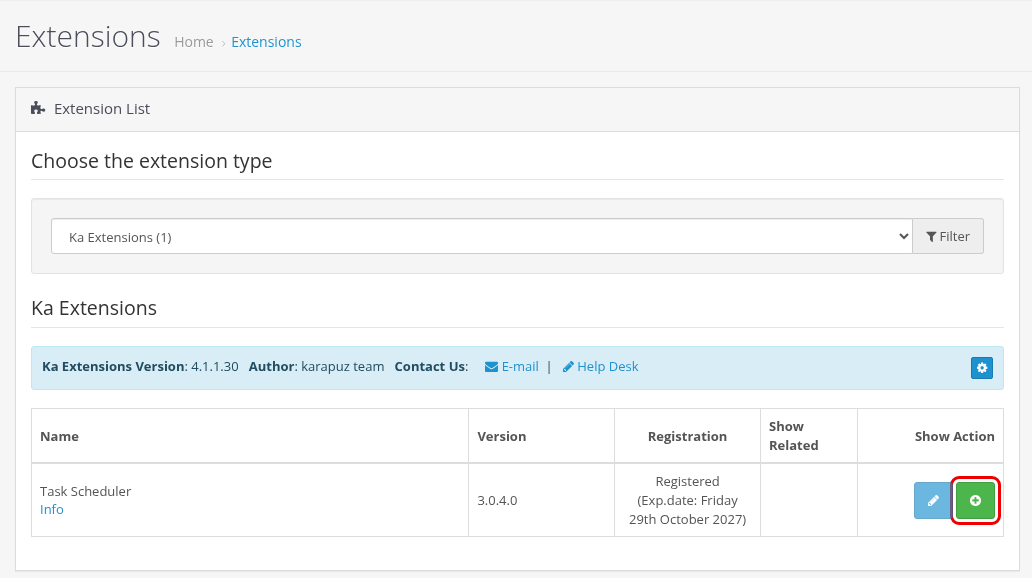
Task Scheduler is registered: click Install
During the installation the module creates its table, default settings and a random 32-character run key. The user group of the installing administrator gets access to the task list.
Check the installation
- System > Task Scheduler appears in the admin menu. It opens the task list.
- The module settings open with the Edit button next to Task Scheduler on the Ka Extensions page.
- The command line script
ka_cron.phpis installed with the module, you do not need to copy it anywhere.
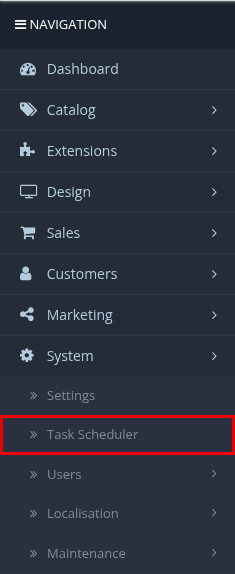
System > Task Scheduler in the admin menu
Next step: Cron Setup.
Uninstall and re-install
- Uninstall on the Ka Extensions page turns the module off. The settings, the run key and the tasks stay in the database.
- A later Install uses the saved settings and key, so existing cron lines keep working.